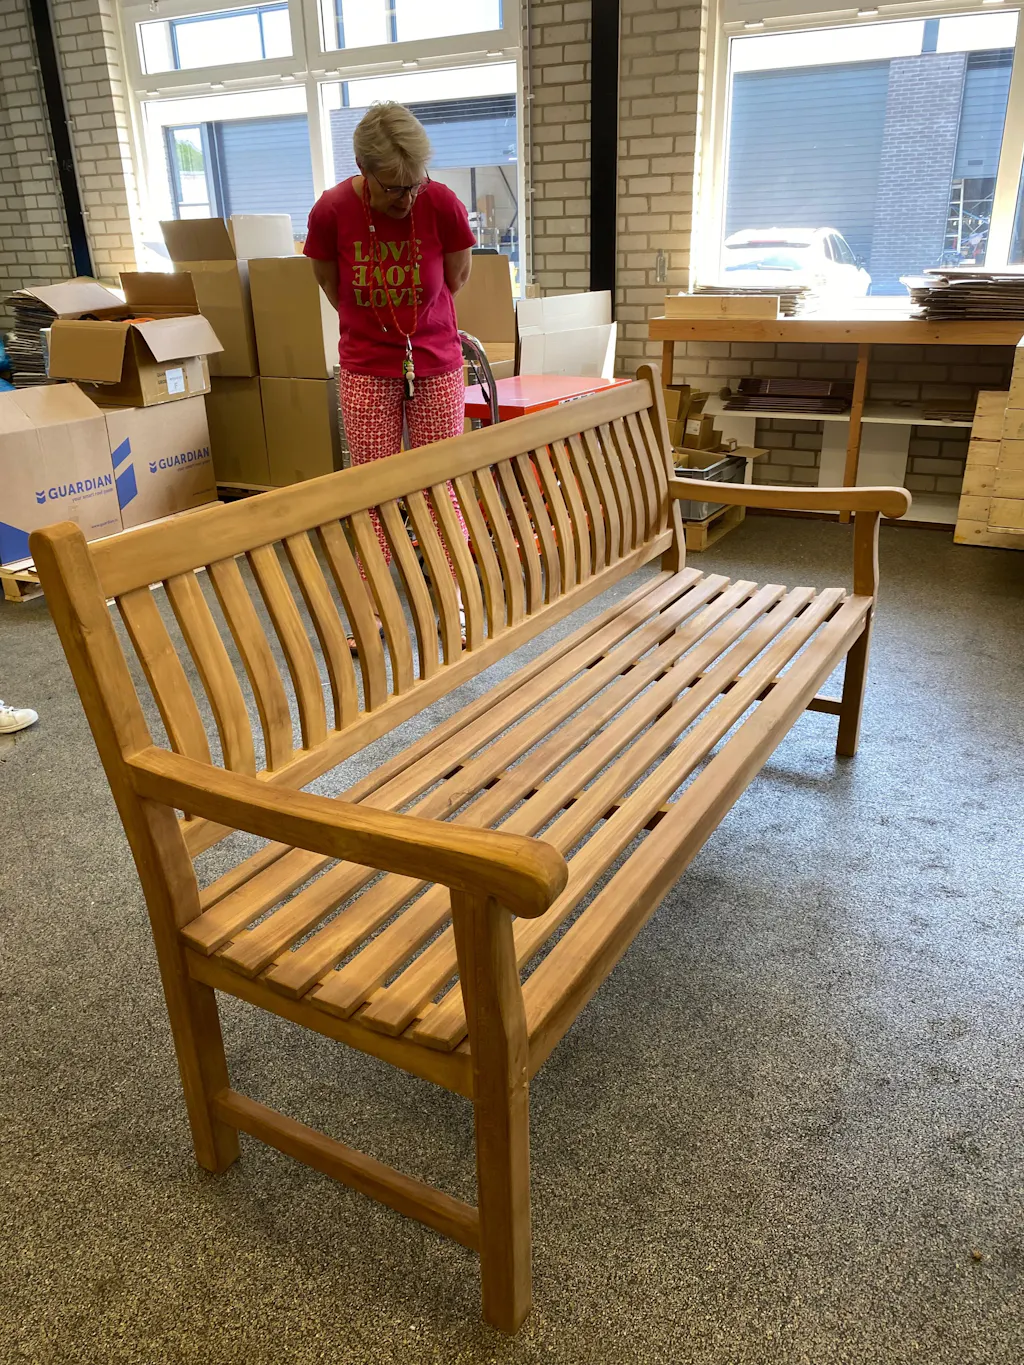
De tweede keuze is omdat er kleur verschil in zou zitten. Amper opgemerkt! In elkaar zetten ging wat lastig omdat de beschrijving niet helder was van de rugleuning. Maar hij stond evengoed snel. We genieten ervan!!
Simpel in elkaar te zetten! Chapeau!
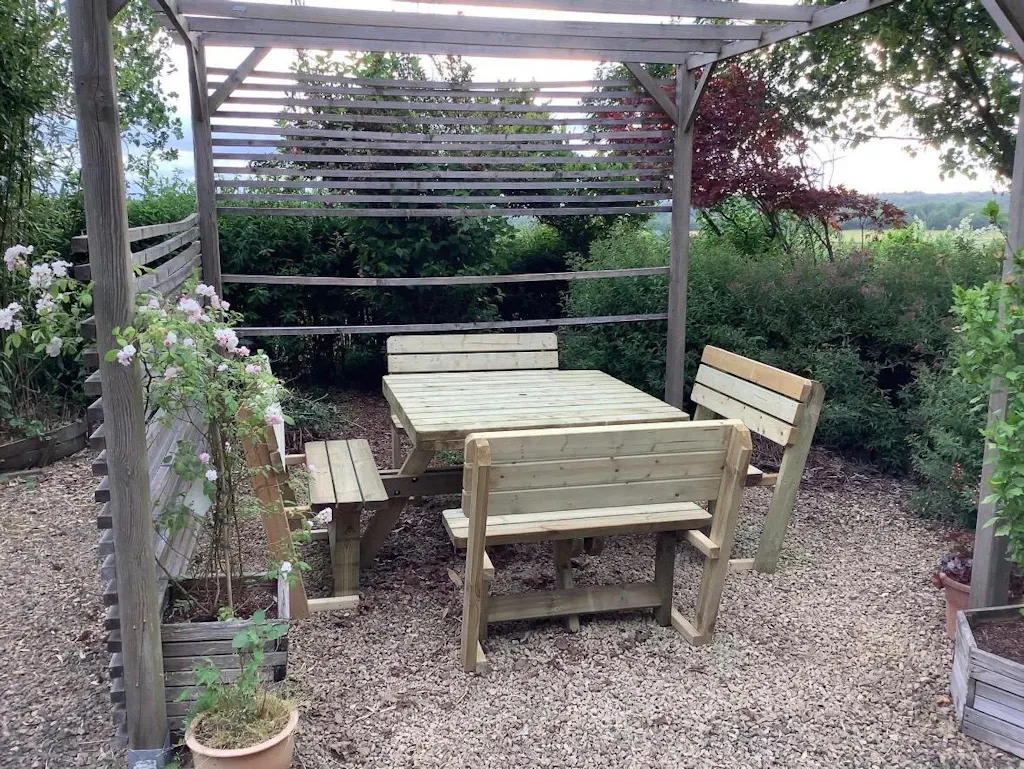
Ik heb totaal 3 picknicktafels besteld. Een paar dagen later zat ik de reviews te lezen en ik schrok een beetje. Die waren niet heel positief.
Maar onze ervaring is gelukkig wel heel positief. Ik heb alle 3 de picknicktafels keurig netjes en optijd bezorgd gekregen. Alles zag er goed uit. Medewerkers waren vriendelijk. De picknicktafels zijn mooi stevig, dikke planken en zien er top uit. Prijs en kwaliteit is echt super. Onze oude picknicktafel was van veel dunnere planken.
Wij zijn zeer tevreden👍
Beau produit, semble bien solide. Facile à assembler. A voir dans le temps.
Montage un peu complexe car les plans ne sont pas très clairs . Mais après , quel bonheur cette table. Solide et très agréable .